
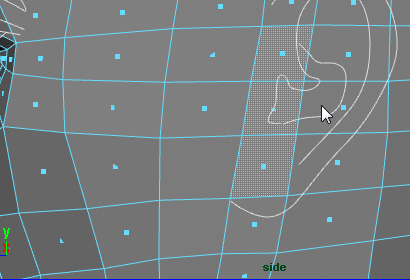
1. Select three faces.
2. Extrude.
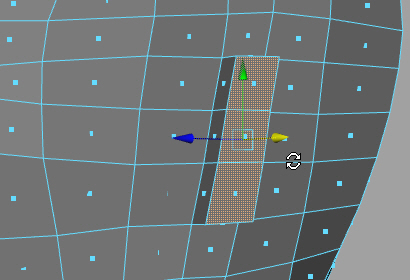
3. Move the vertices. Follow the template.
4. Select the three faces and extrude.
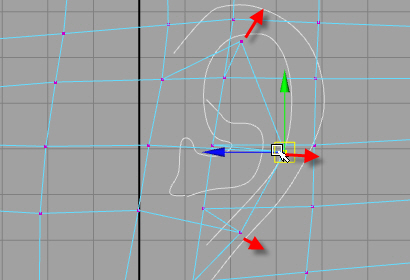
5. Fine tune the shape.
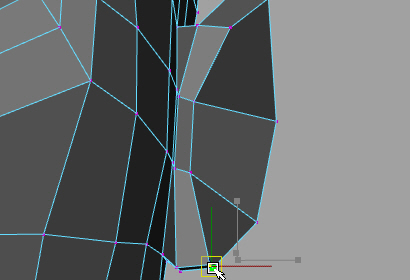
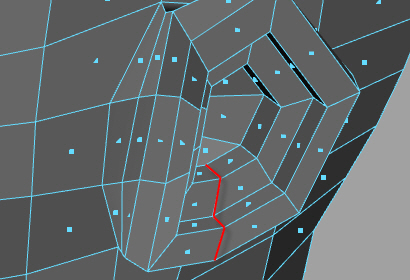
6. Add an edge loop behind the ear.
7. Fine tune the shape.
8. Select the three faces.
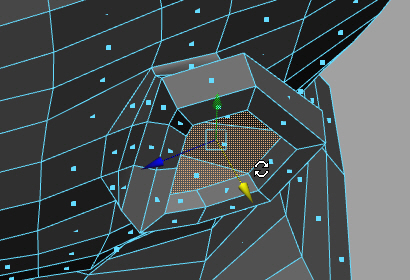
9. Extrude and move in.
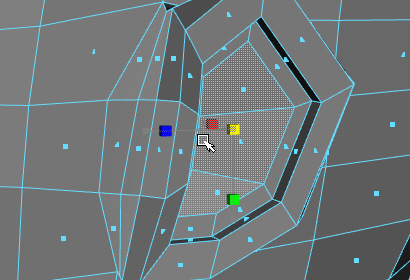
10. Select the three faces.
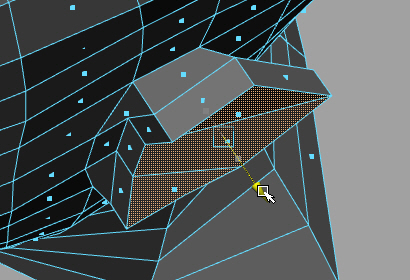
11. Extrude and move in.
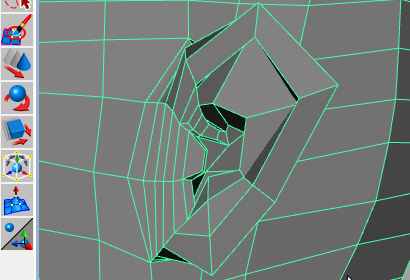
12. After extruding twice, the shape should be like the picture above.
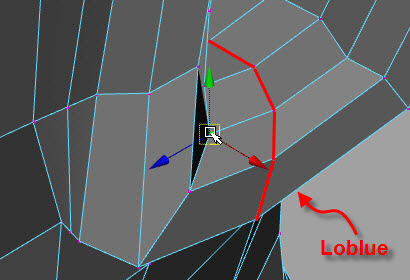
13. Make the lobe area smooth.
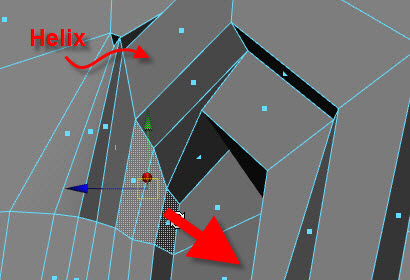
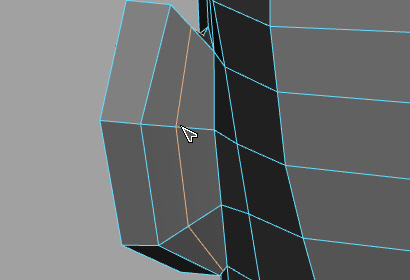
14. Extrude the helix toward the center of the ear.
15. Move the vertices and follow the anatomy.
The helix goes into the center of the ear.
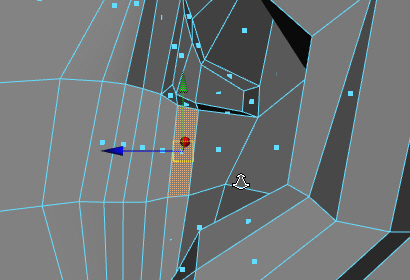
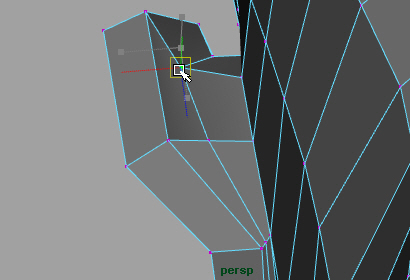
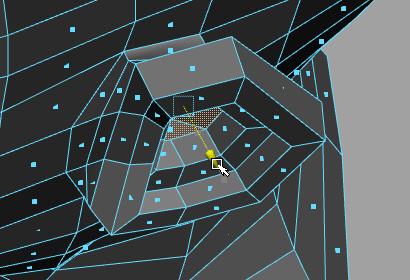
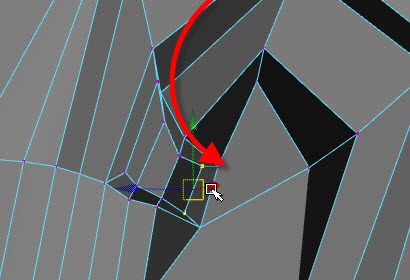
16. Select the face shown.
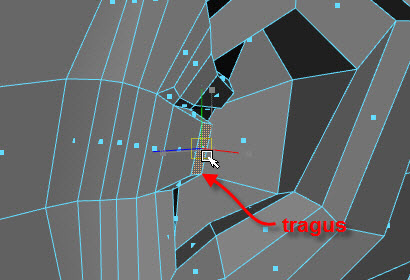
17. Extrude to make tragus.
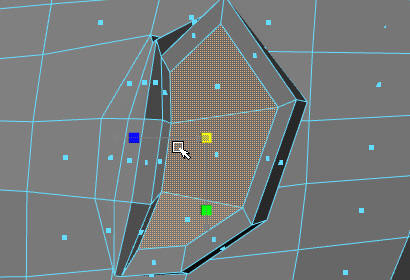
18. This is simple geometry but it has the basic structure.
If you want to add more datail, you can do it later.
To check in the smooth dispaly mode, hit 3 on the keyboard.
-1-