
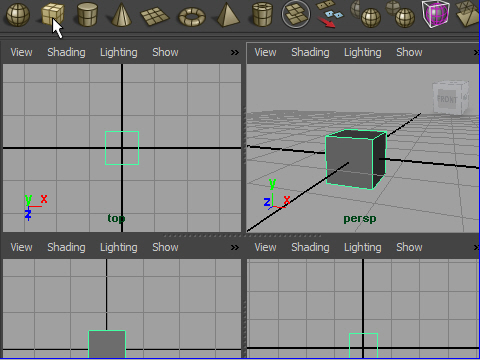
1. I am going to make a basic form of the body.
Create a cube.
簡単なボディーを制作してみましょう。
まず立方体を作ります。
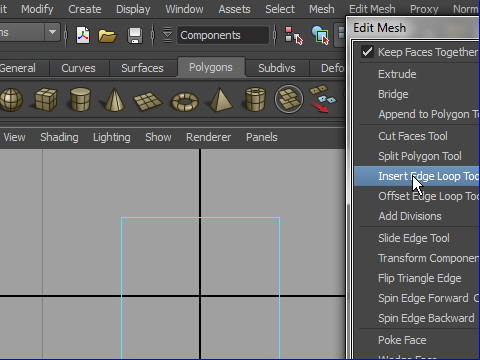
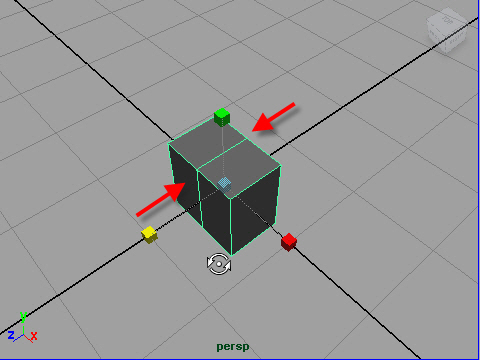
2. Go to Edit Mesh > Insert Edge Loop Tool
立方体の中央にEdge Loop tool でedge を挿入します。
メッシュの編集 > エッジループの挿入ツール
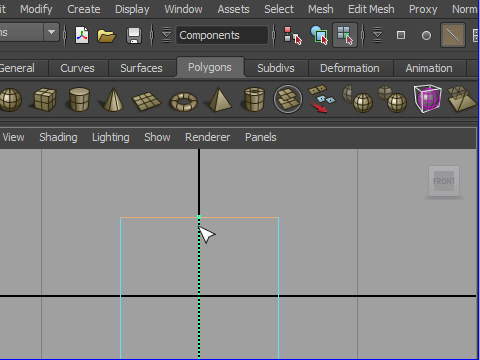
3. In the front view, insert edge loop on the middle.
Front View から立方体の中央にEdge Loop tool でedge を挿入します。
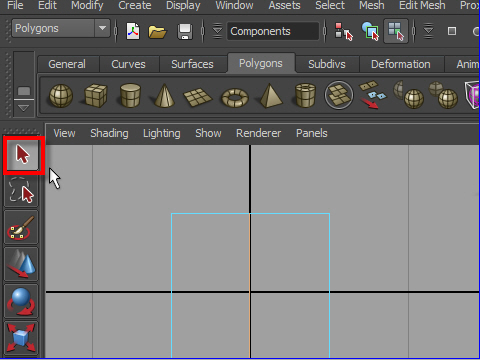
4. Make sure, go to the arrow icon on the left or press "q" on your keyboard to exit the edge loop tool .
左上の矢印のアイコンでエッジループを解除します。
キーボードの q でも解除できます。
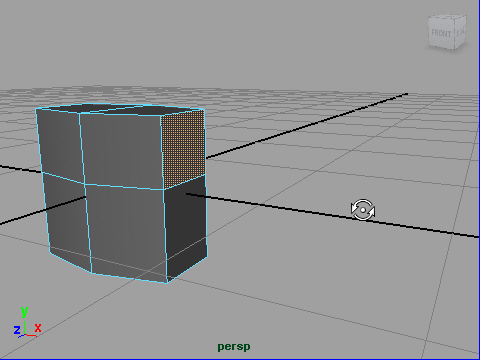
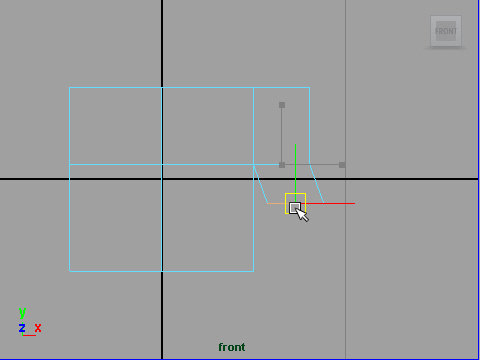
5. Scale down on Z.
It is going to be a torso.
Z方向にスケールを小さくします。
胴の部分になります。
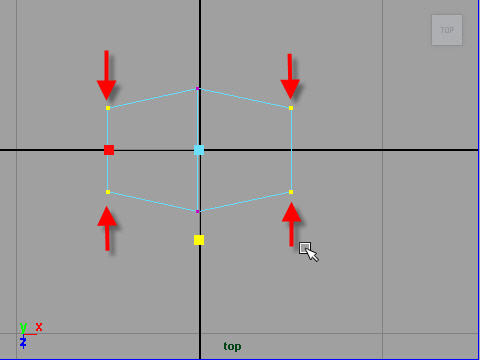
6. In the top view, select the vertices like the picture above then scale on Z.
Top View から図のようにvertices のスケールを変え胴に丸みをつけます。
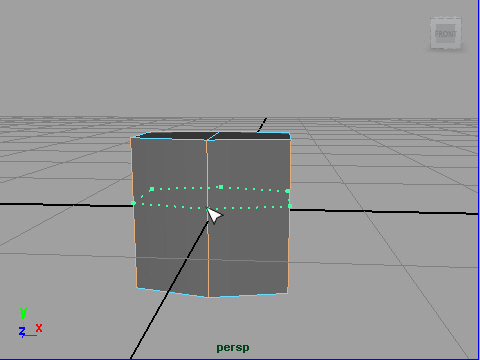
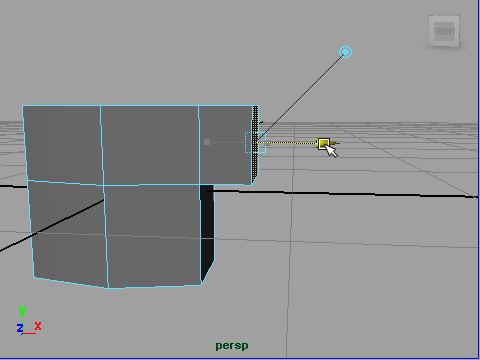
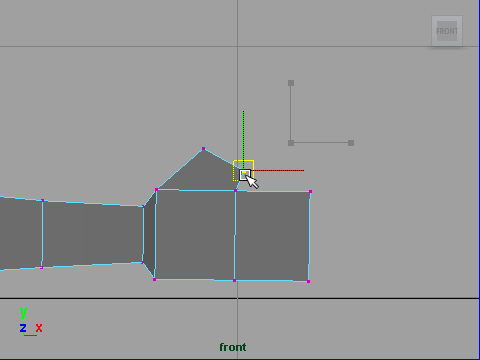
7. Insert edge loop. Edit Mesh > Insert Edge Loop Tool
真ん中より少し上にエッジを追加します。
メッシュの編集 > エッジループの挿入ツール
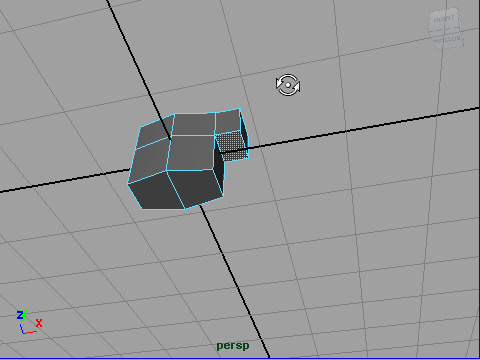
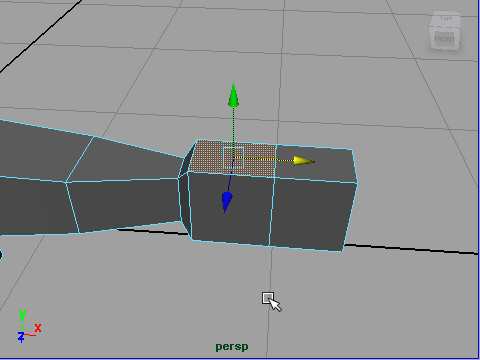
8. I am going to make the left shoulder.
Select the face like the picture above.
Edit Mesh > Extrude
左の肩を作ってみます。
図のようにfaceをセレクトし、extrude(押し出し) します。
メッシュの編集 > 押し出し
9. Extrude the face.
図のようにextrude(押し出し) します。
10. Select the face like the picture above.
図のように face をセレクトします。
11. Extrude the face.
Extrude します。
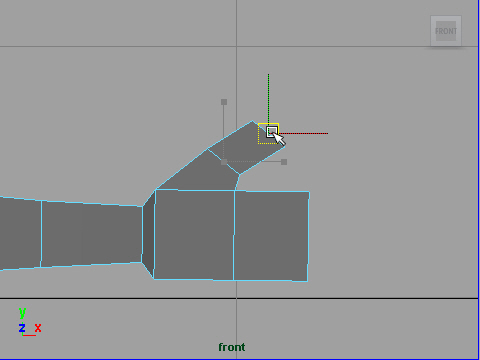
12. Move the vertices like the picture above.
This is how I make the shoulder muscle called deltoid.
図のようにvertices を移動し肩の筋肉を作ります。
この肩の筋肉を三角筋といいます。
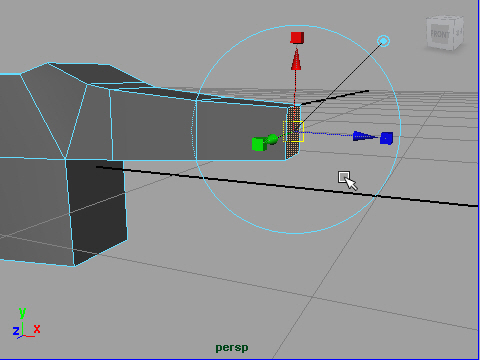
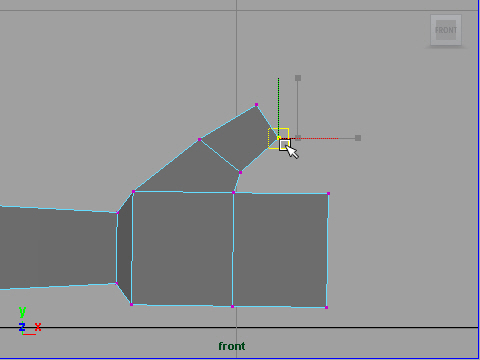
13. Next, I am going to extrude the left arm. Before extrude the arm, make sure the shape you are going to extrude is square.
次に腕を extrude します。その前に face をちゃんと四角形にしておきます。
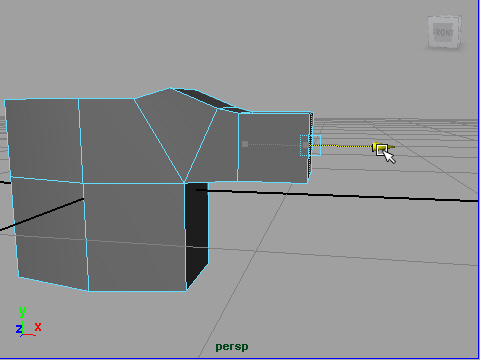
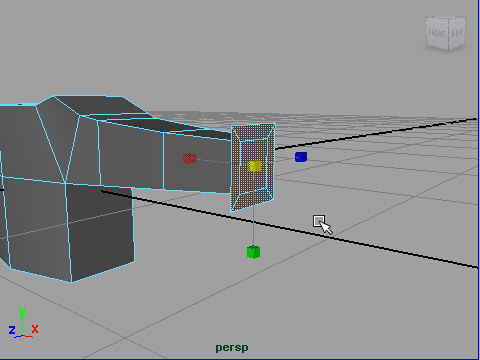
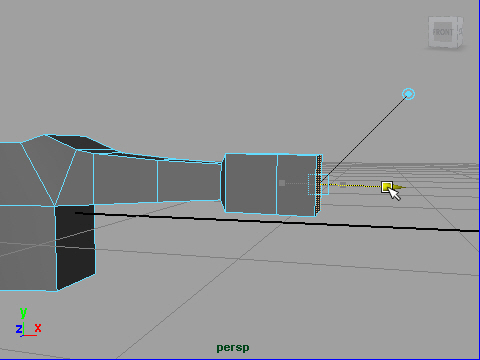
14. Extrude the arm to the elbow.
肘(ひじ)のあたりまで extrude します。
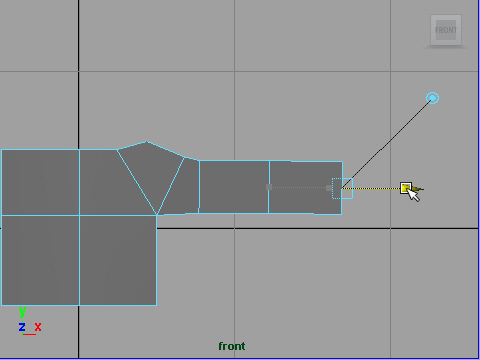
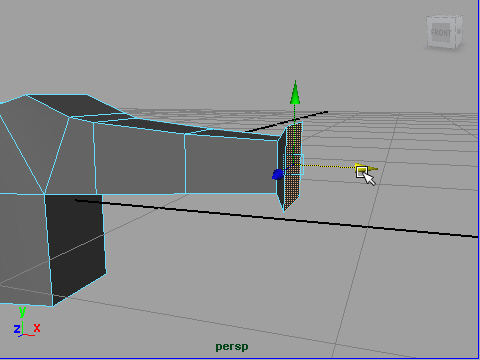
15. Extrude again to the wrist.
もう一度、 手首のあたりまでextrude します。
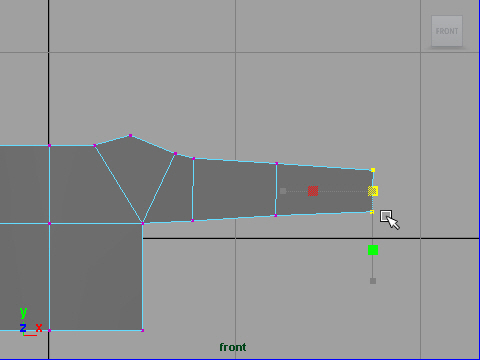
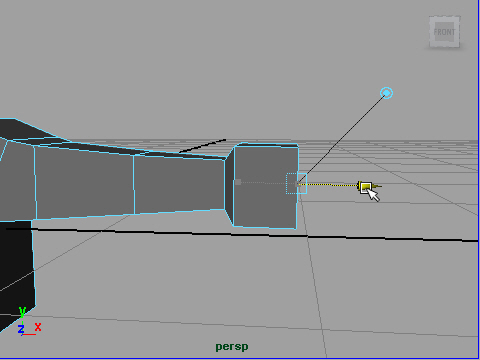
16. Scale down the wrist.
手首のスケールを変えます。
17. Extrude the face. It is going to be the palm.
Extrude して手を制作します。
18. Scale up the face.
スケールアップします。
19. Extrude again.
もう一度 extrude します。
20. Extrude again.
もう一度 extrude し、指の部分を作ります。
21. In this demo, I am not going to make the each fingers.
このデモでは指を一本づつ作らずに四本まとめて一つにします。
22. Select the face like the picture above and extrude.
I am going to extrude the thumb.
親指を作ってみましょう。
図のように face をセレクトし、extrude します。
23. After extruding the face, move the vertices like the picture above.
Extrude した後に vertices を移動し、形をととのえます。
24. Extrude again.
さらにもう一度 extrude します。
25. Fix the shape.
形をととのえます。
-1-