
1. There are two ways to animate joints.
The first way is rotating the joint and setting keys which we have learned last week. ( Forward Kinematics )
Another way is creating IK Handles and moving them to animate. ( Inverse Kinematics )
Let's create an IK Handle on the arm.
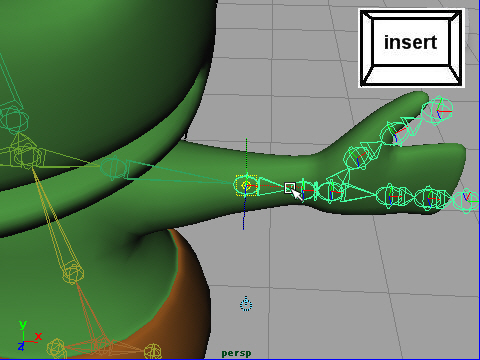
First, select the elbow joint and hit Insert on your keyboard.
Move the elbow joint backward slightly to bend the joint .
関節をアニメーションするには二つの方法があります。
一つは、ジョイントを 回転しキーをセットする方法です。
これは先週の教材で学んだ方法です。 ( Forward Kinematics )
もう一つの方法は、IKハンドルという線を作り、その線で関節を動かす方法です。 ( Inverse Kinematics )
では IKハンドルを制作してみます。
最初に ひじのジョイントをセレクトし、キーボードのインサートボタンを押します。
ひじのジョイントを少し後ろに移動します。
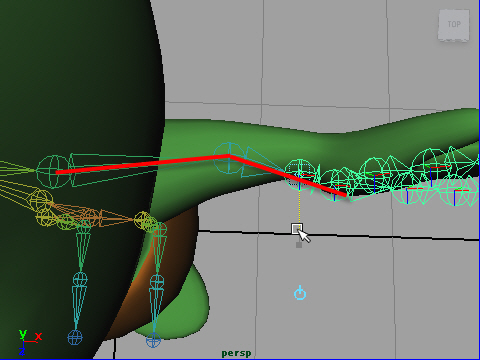
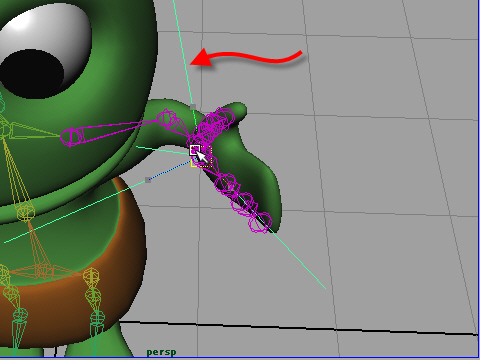
2. Then, move the wrist joint to bend arm like the picture above.
次に手首のジョイントをセレクトし、同じように後ろへ少し移動し、
上の図のような形にします。

3. Go to Skeleton > IK Handle Tool
IK ハンドルをセットします。
Skeleton > IK Handle Tool
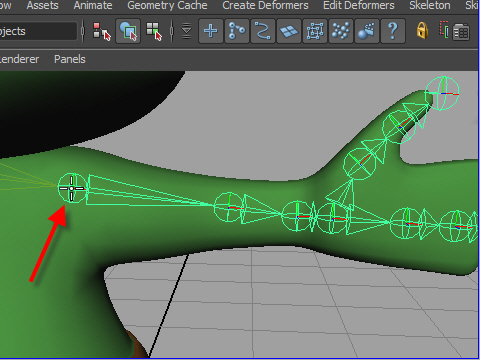
4. Click the shoulder joint.
まず肩のジョイントをクリック。
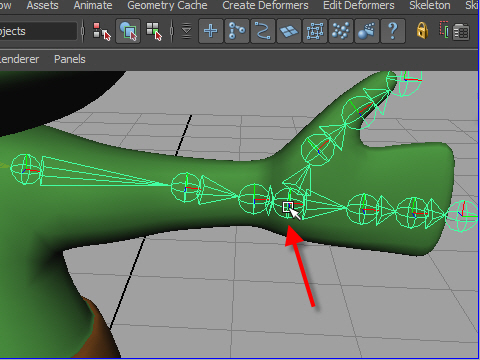
5. Next, click the wrist joint.
Then an IK Handle will be created.
次に手首のジョイントをクリックします。
IKハンドルがセットされました。
6. Select the IK Handle, and move.
See how the joint moves.
IKハンドルを動かしてみましょう。
同様に足(Leg や Foot )にもIKハンドルをセットしてみましょう。
-1-