

1. Now we are going to apply Blend Shape.
First select two eye shapes then select the base shape.
ブレンド シェイプを作ってみます。
まず目の表情のモデル二つを左から順にセレクトします。
そしてベース’のモデルをセレクトします。
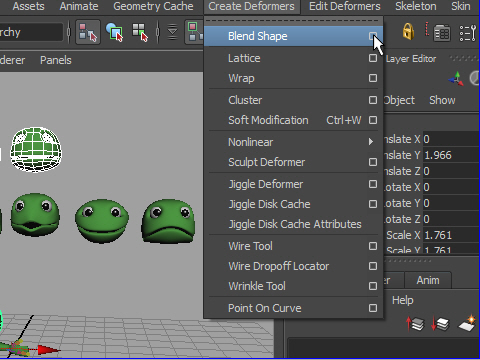
2. Go to Create Deformers > Blend Shape > option
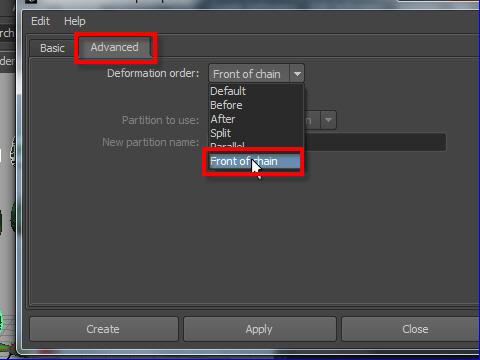
3. Select the Front of chain.
ブレンドシェイプのオプションから Front of chain をセレクトします。
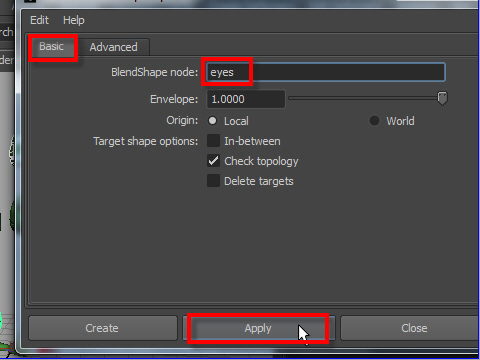
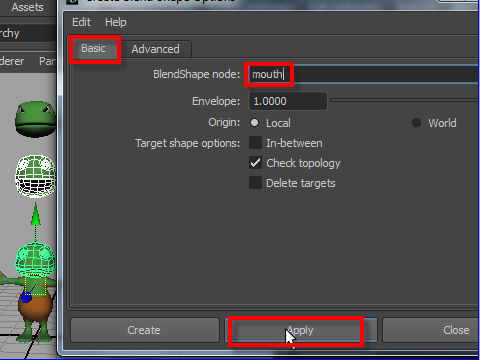
4. Name as eyes and click Apply button.
名前を eye にしてApply ボタンを押します。
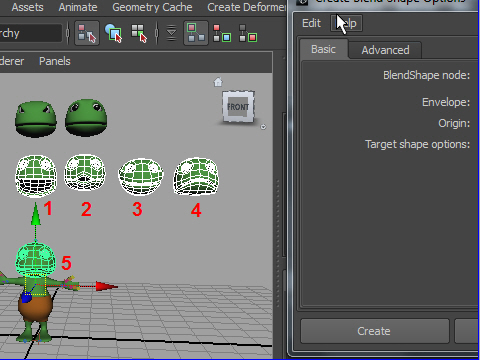
5. Next select mouth shapes.
Select from the left then select the base model.
次に口にのシェイプをセレクトします。
左から順にセレクトし、最後にベースのモデルをセレクトします。
6. Go to Create Deformers > Blend Shape > option
Name as mouth then apply.
Create Deformers > Blend Shape > option へ行き、
名前を mouth にして、Apply ボタンを押します。
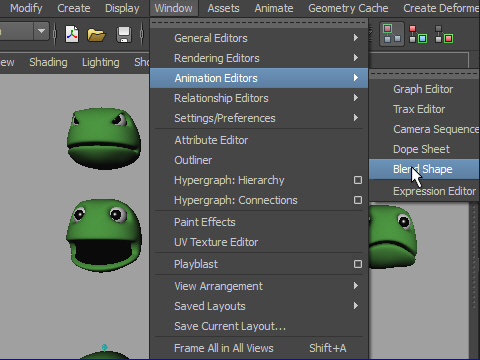
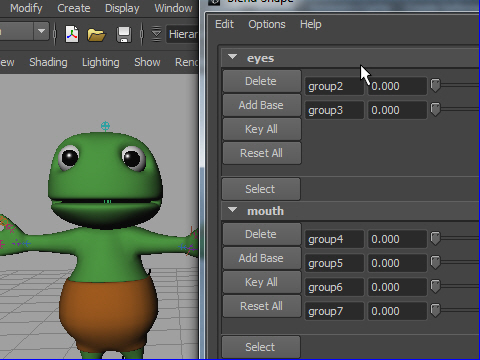
7. To see the Blend Shape sliders,
go to Window > Animation Editors > Blend Shape
ブレンドシェイプのスライダーを見るには
Window > Animation Editors > Blend Shape へ行きます。
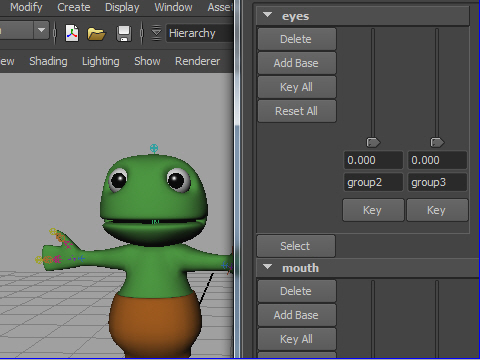
8. Move the sliders and check the expressions.
スライダーを動かして顔の表情を見てみましょう。
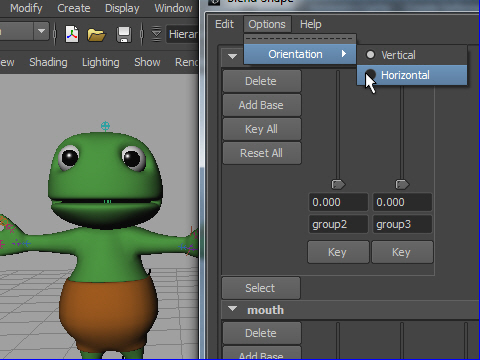
9. To arrange sliders horizontal,
go to Options > Orientation > Horizontal
スライダーを横に並べるには
Options > Orientation > Horizontal
10. Move sliders and check the expressions.
スライダーを動かし、表情を確認してみましょう。
-4-