Week3-4 Saving Scene

1. To save your work, first you need to create folders.
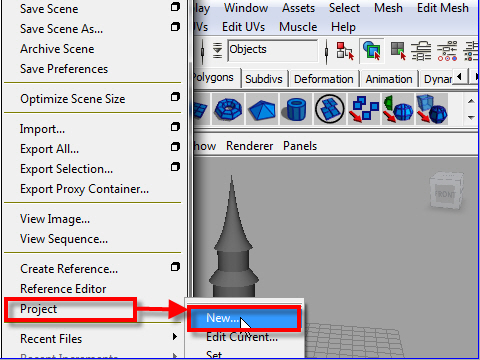
Go to File > Project > New
A new window will pop up.
作品を保存するには まず最初に自分のフォルダーをつくります。
Go to File > Project > New
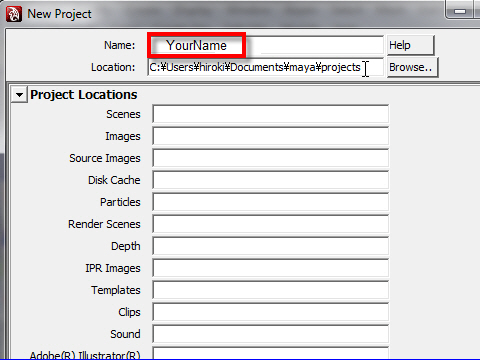
2. Put a project name or your name on the top.
Name の欄にプロジェクトの名前、または自分の名前を入力しましょう。

3. Click the Use Default to create all folders.
Then click the Accept button to confirm.
A lot of folders will be created automatically.
For now, you only need the Scenes folder to save your work.
Use Default をクリックし、フォルダーを制 作します。
次に横のAccept ボタンをクリックします。
たくさんのフォルダーが自動的につくられますが、今の時点で必要なのは Scenes というフォルダーだけです。
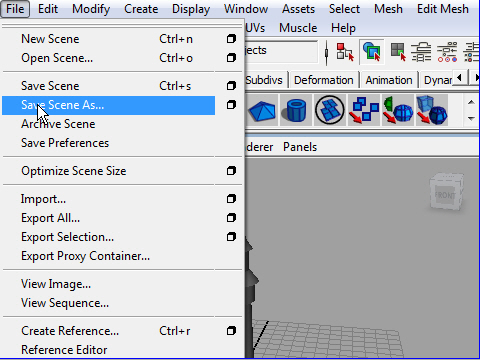
4. Now you can save your work.
Go to File > Save Scene As...
では作品をsave(保存) してみましょう。
Go to File > Save Scene As...
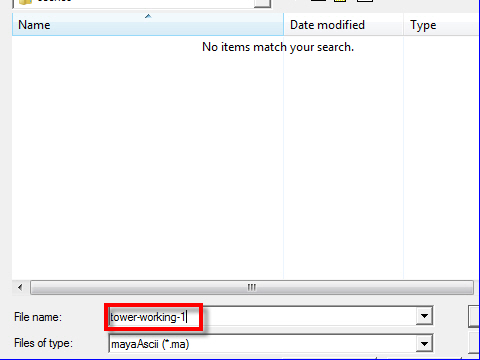
5. On the pop up window, type file name
File name の欄にファイル名を入力します。
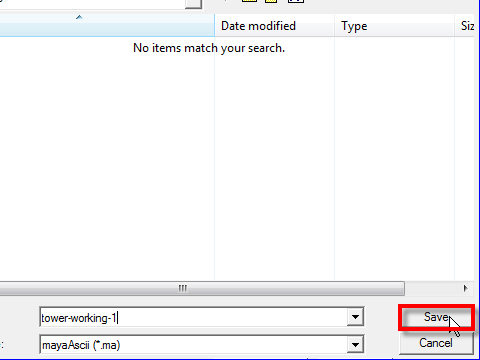
6. Click the Save button.
I recommend to save your work occasionally
Save ボタンを押して終了です。
制作の途中で時々 作品をsave (保存)しましょう。
-4-