
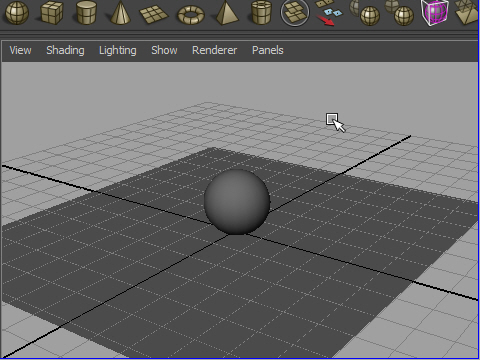
1. I will explain the basic lighting.
First, make a plane and a cube like the picture above.
基本的なライティングを説明します。
その前に、平面と球体を制作します。
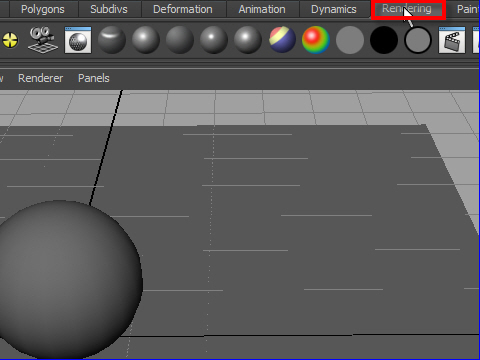
2. Click the Rendering tab from the Shelf.
Shelf から Rendering タブをクリックします。
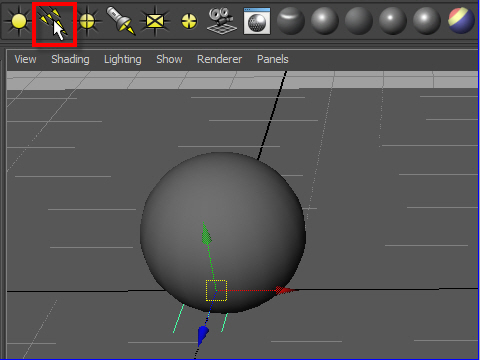
3. Pick the directional light from the Shelf. (The second icons from the left)
Directional light is parallel rays like the sun light.
Shel から directional light を選択します。( 左から二番目のアイコン)
Directional ligh は太陽のように並行な光線を放ちます。
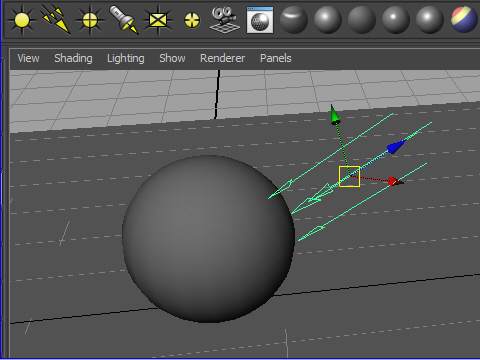
4. Set up the angle.
The directional light shines evenly in one direction.
Therefor the direction matters, but not the position.
角度を調整します。
Directional light は一方向から均一に平行に照らすので、ライトの位置は特に関係ありません。 角度だけは正しく調整します。
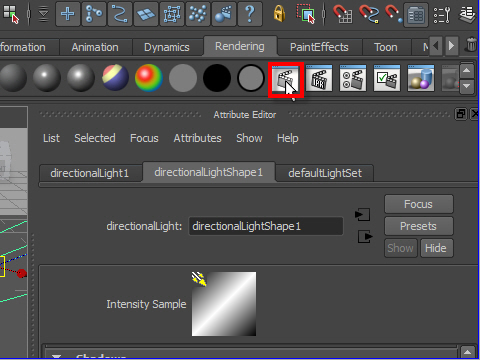
5. To see the image with the light source, you have to render the image.
To render the image, click the icon showing above.
ライトをセットアップした後のイメージを見るには レンダリングする必要があります。
レンダリングするには上の図にあるアイコンをクリックします。
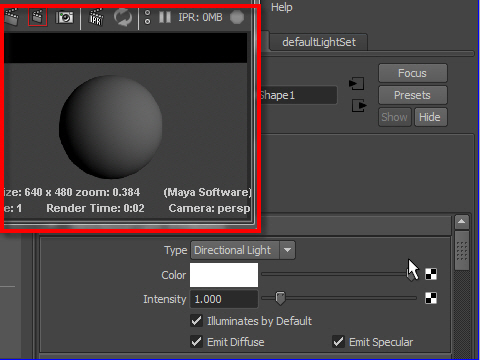
6. The Render View window will pop up.
In the Render View window, you will see the rendered image.
Render View ウィンドウが出てきます。
Render View window でレンダリングしたイメージを見ることができます。
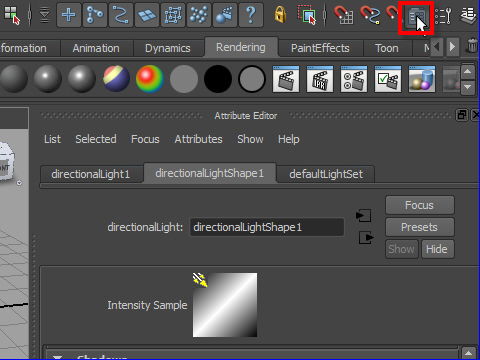
7. Next, we are going to adjust intensity.
From the Status Bar, click the Attribute Editor icon which is the third one from the right. (See the picture above.)
次にライトの明るさを調整してみましょう。
上の Status Bar ( ステータス バー ) から Attribute Editor アイコンをクリックします。 右から三番目のアイコンです。( 上の図を参考 )
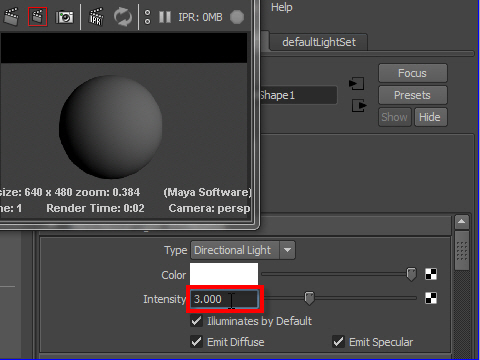
8. In Attribute Editor, Change number of intensity.
Attribute Editor にあるIntensity の数値を上げます。
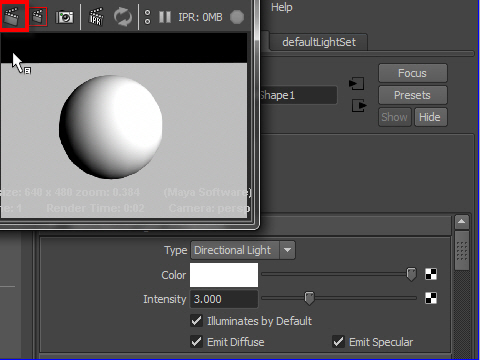
9. Render again by clicking the icon on the Render View window.
Compare the picture 8 and 9. The picture 9 is brighter than the picture 8.
レンダリングのアイコンをクリックしてもう一度レンダリングします。
図の 8 と 9 を比較してみると図 9 のほうが明るくなっているのが分かります。
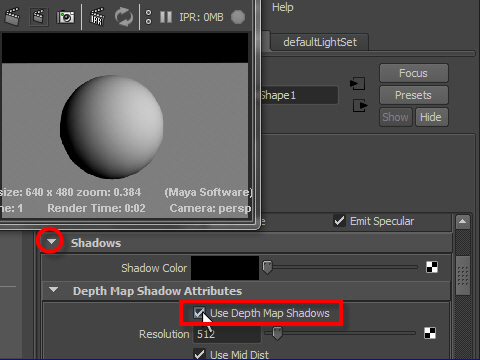
10. Now we are going to cast shadow.
Click Shadow menu on the Attribute Editor.
Check the Use Depth Map Shadows on.
影を付けてみましょう。
Shadow メニューをクリックし詳細をオープンします。
Use Depth Map Shadows にチェックマークをつけます。
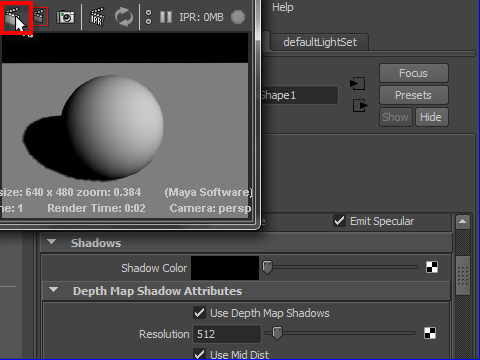
11. Render again.
Now the object has a cast shadow.
To improve the shadow quality, increase the number on the Resolution.
もう一度レンダリングします。
オブジェクトに影が付きました。
影のクウォリティーを上げるには Resolution の数値を上げます。
-6-