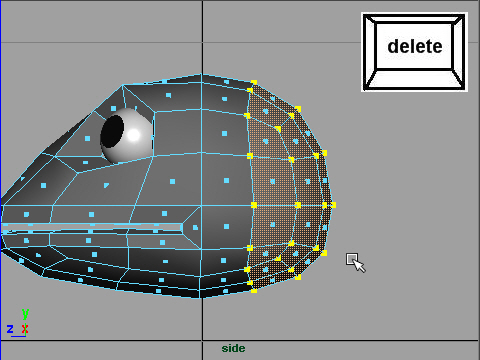
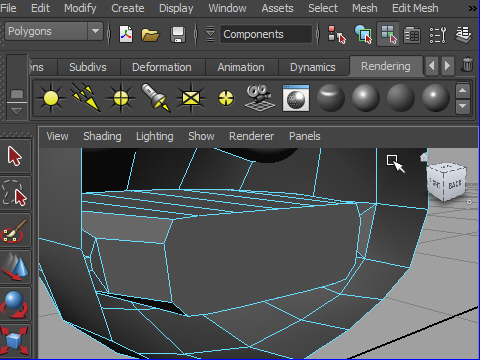
1. I am going to make inside of the mouth.
First, delete some faces on the back of the head. See the picture above.
口の中の部分を作ってみましょう。
最初に頭の後ろの部分をdelete(消す)します
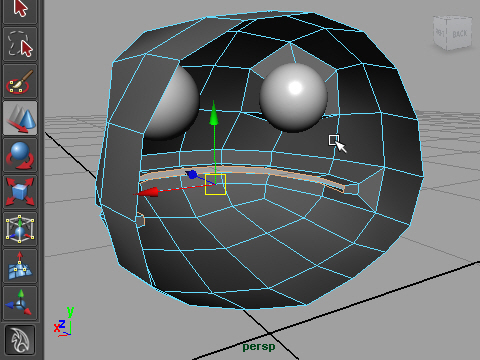
2. Select the edges around the mouth.
To do so, just double click one of the edges around the mouth.
口の周りのエッジをセレクトします。
セレクトするにはエッジを一つダブルクリックします。
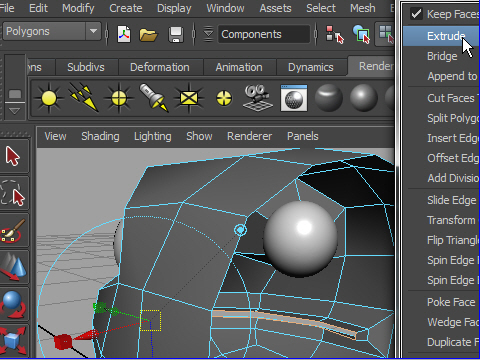
3. Extrude the edges.
Edit Mesh > Extrude
Right after extrude the edges, the manipulator will appear.
Select the blue arrow.
Extrude します。
Edit Mesh > Extrude
Extrude した直後に出てくるマニュピレーター(赤、青、緑の矢印)を使います。
青の矢印をセレクトし上下に動かしてみましょう。
エッジが面に沿って移動します。
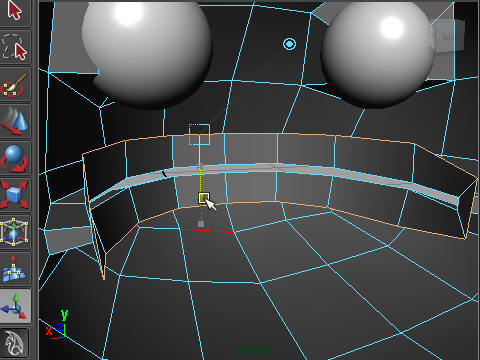
4. Move up the arrow like the picture above.
図のようにエッジを動かします。
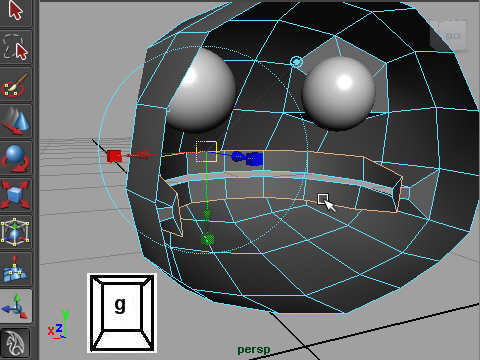
5. Extrude again.
もう一度 Extrude します。
キーボードの g は同じツールを連続して使うときに便利です。
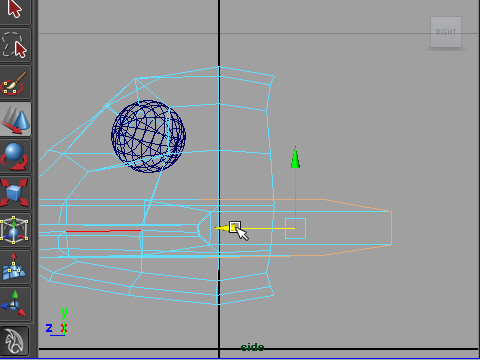
6. Move back the extruded edges.
extrude したエッジを後ろに移動します。
7. Change scale on Z to make them straight.
Z方向にスケールを小さくし、エッジをまっすぐにします。

8. I am going to close the surface just I extruded.
Select the edges like the picture above.
extrude した面の端に新たに face (面) を作り穴をふさぎます。
エッジを図のようにセレクトします。ダブルクリックでセレクトします。
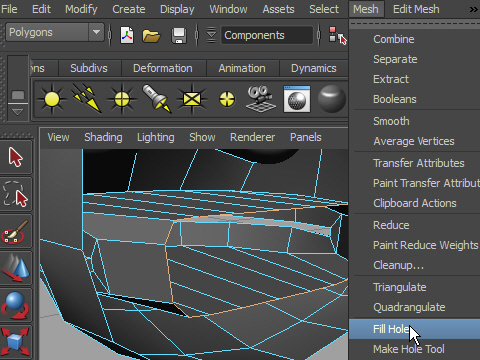
9. Go to Mesh > Fill Hole
Mesh > Fill Hole で 穴をふさぎます。
10. Now the surface is closed.
面がふさがりました。
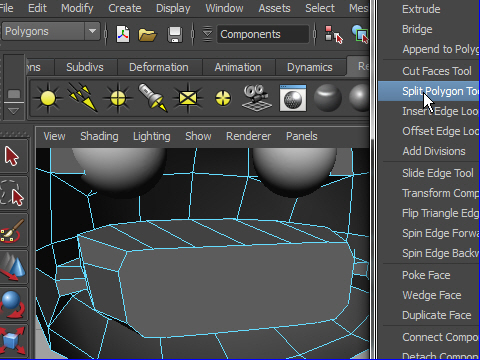
11. I am going to add some edges on the surface just I closed because each faces have to have four edges on character models to make clean animation.
Edit Mesh > Split Polygon Tool
ふさいだ面にエッジを追加します。キャラク ターのモデルは一つ一つの面が四角形’でないとアニメーションやレンダリングがうまくいきません。
Edit Mesh > Split Polygon Tool
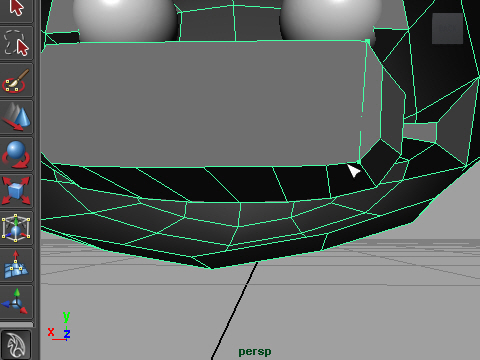
12. Split the surface. See the video demo.
面をSplitします。 デモの動画を参考。
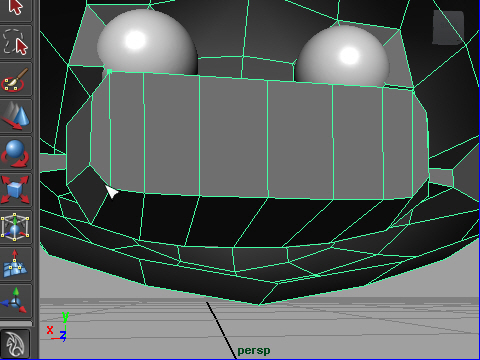
13. Now all faces have four edges. ( Square shape )
面がすべて四角形になりました。
-2-