1. I am going to explain Wire Tool.
It is useful tool to bend object just using a curve as a deformer.
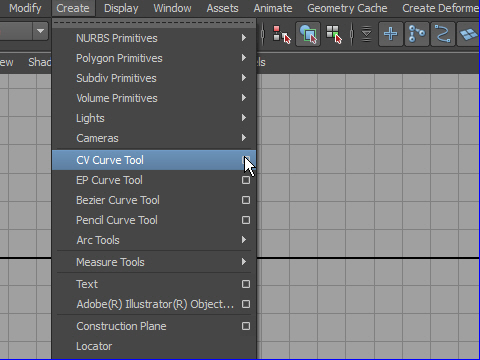
First, create a curve.
Create > CV Curve Tool
Wire Tool (ワイヤーツール)をつかえばオブジェクトを簡単に変形することができます。
まずカーブ(線)を一本作り、そのカーブでオブジェクトを変形する方法です。
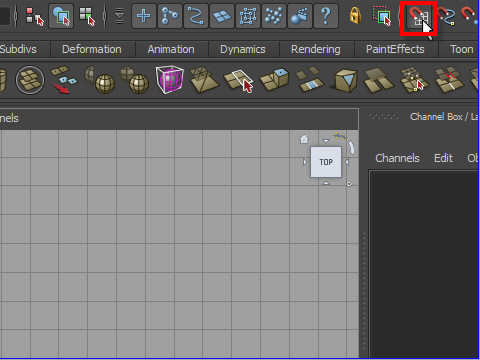
2. Before creating a curve, turn on the grid snap tool.
カーブ(線)を作る前にグリッド(ます目)のマグネットをONにします。
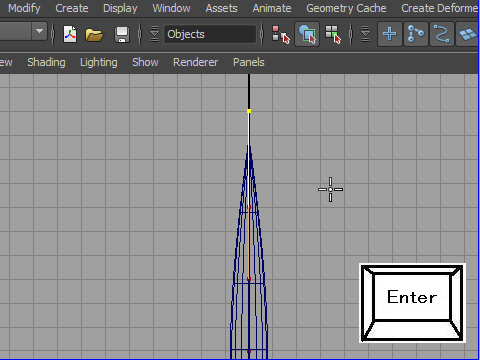
3. Create a curve by clicking the grid. See the demo video.
Press Enter to complete.
蛇に沿ってマウス左ボタンでカーブを制作していきます。
キーボードのEnter で終了します。
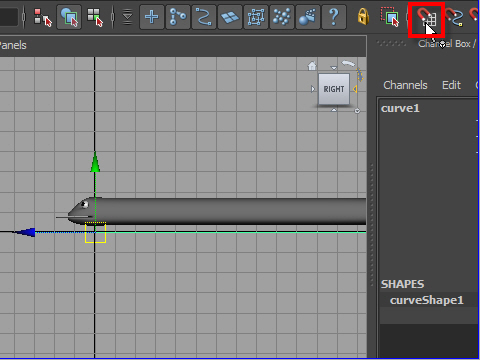
4. Now turn off the grid snap tool.
カーブができたらマグネットをOFF にします。
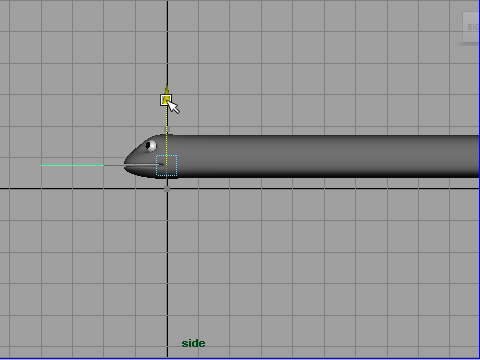
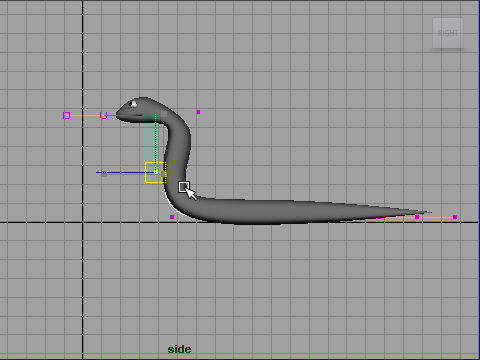
5. Move up the curve on the center of the snake.
カーブを蛇の真ん中にもっていきます。
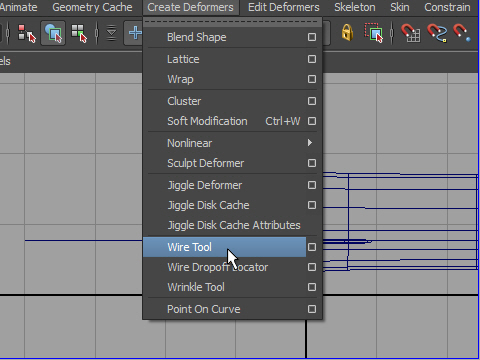
6. Go to Create Deformers > Wire Tool
Create Deformers > Wire Tool を実行します。
7. Select all object first. Don't select the curve.
To deselect the curve, press Ctrl and drag with the left mouth button.
カーブ以外のオブジェクトをセレクトします。
Ctrl と左マウスボタンでセレクトを解除します。
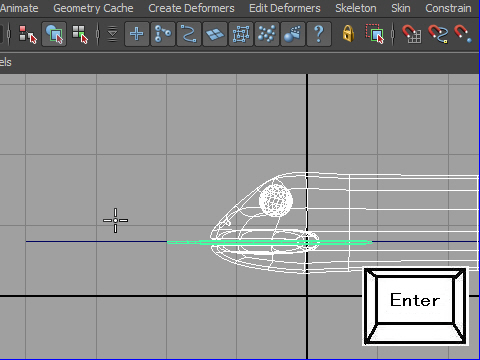
8. Press Enter on the keyboard.
オブジェクトをセレクトした後にキーボードの Enter を押します。
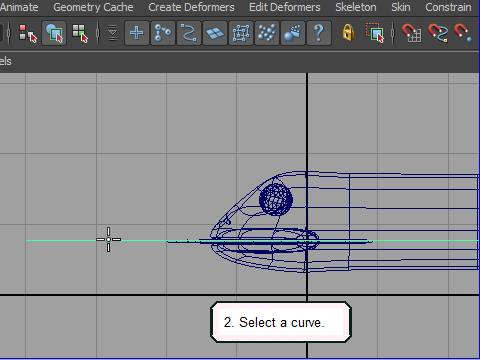
9. Select the curve.
次にカーブをセレクトします。

10. Press Enter on the keyboard.
Now the objects are attached to the curve.
Enter を押して完了です。
オブジェクトがカーブにアタッチされました。
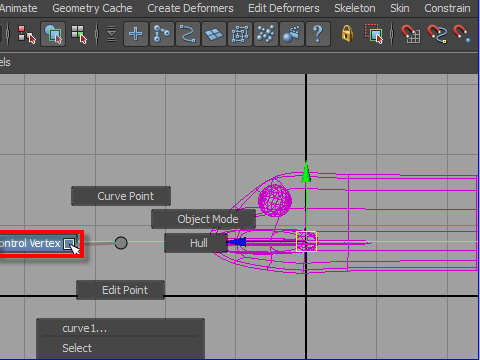
11. Move the courser to the curve and press the right mouth button.
Go to Control Vertex mode.
カーブの上にカーソルを持って行き、右マウスボタンで Control Vertex モードに行きます。
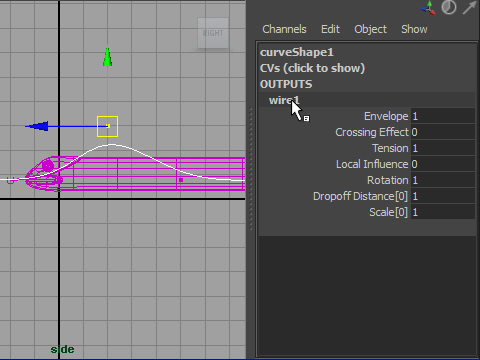
12. Move up one of the control vertices.
Go to Channel Box and open wire1 under the OUTPUTS.
コントロール ポイントの一つを上に移動します。
チャンネルボックスからwire1の詳細をオープンします。
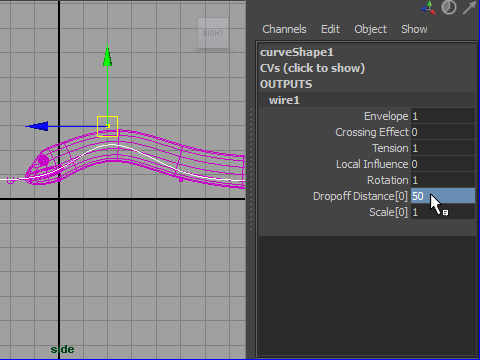
13. Type higher number on Dropoff Distance.
Dropoff Distance の欄の数値を上げま す。
14. Move the control vertex and deform the snake.
カーブのコントロールバーテックスを移動し蛇を変形します。
-6-